Showing posts with label not-so-scrumptious. Show all posts

Monday, December 26, 2016

Wretched Flavor Combination

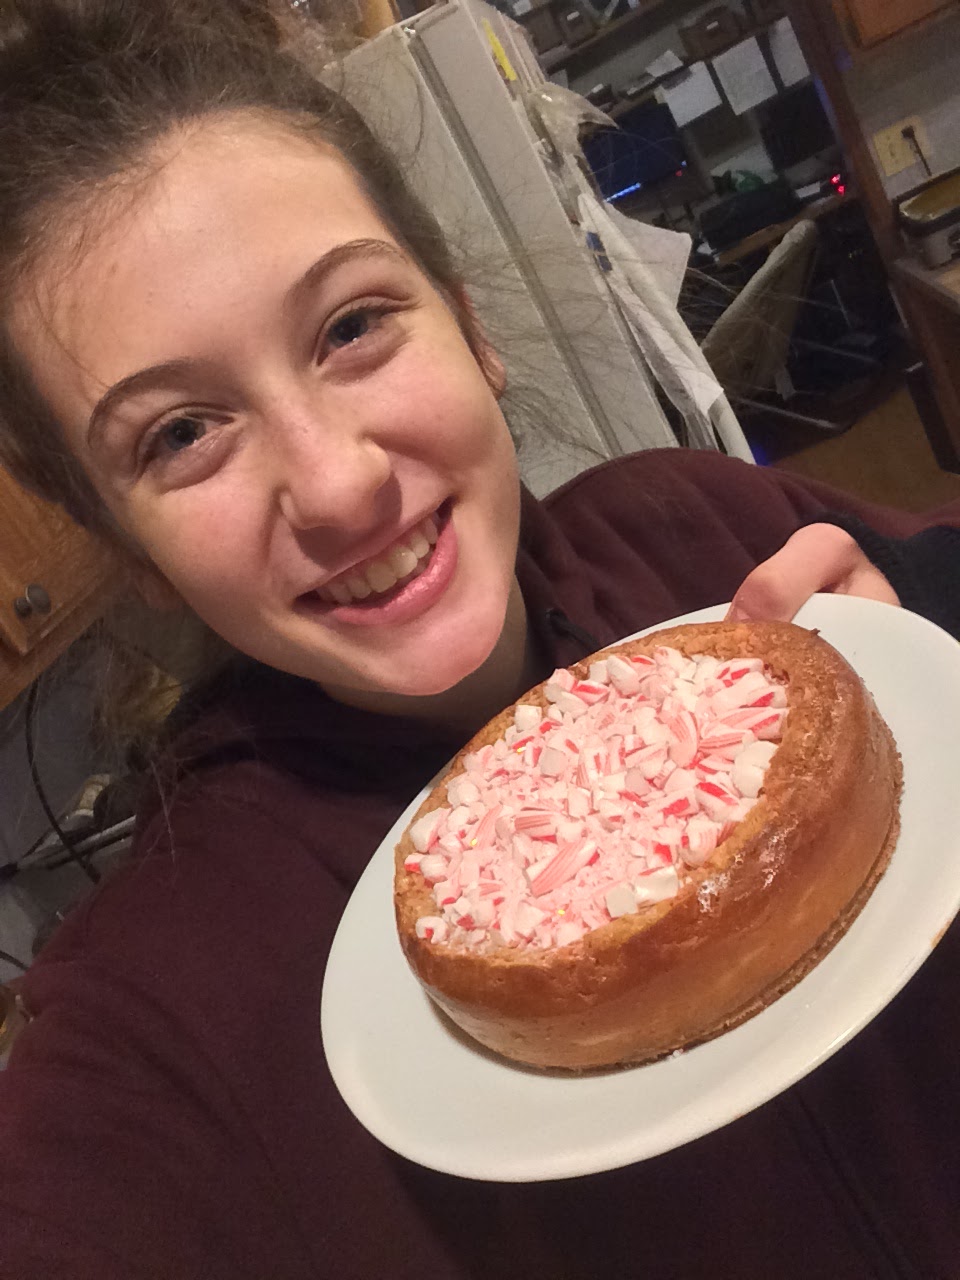
For my second cheesecake I wanted to do something fun. In the spirit of Christmas, I decided to combine two classic holiday flavors: Eggnog and peppermint! (On a side note, I don't actually enjoy either of the two but I wanted to be FESTIVE.)


Eggnog Cheesecake

with Candy Canes


So as you might be able to tell if you actually read this, there is no cooking instructions, which turned out to be quite a problem. I had to google other instructions, but I couldn't find the exact recipe, making the cooking time a bit off. 

Dilemma 1: Baking

After baking the cheesecake, you are always supposed to leave it in the oven when it is turned off for an hour. "This step and the two that follows allow for the cake to cool to a room temperature gently, preventing cracking" (Schulman 133). By letting the cheesecake cool down gradually and keeping it untouched while it settles, the surface of the cheesecake won't be as cracked. I tried to do this and it worked, I guess. After leaving the cheesecake the off oven for an hour, the cheesecake had no gaping crevices in it. In my last cheesecake, there was a big ol' crack on the side. However, the state of the surface of the cheesecake was not really improved. Cheesecakes look very different while they bake compared to after they are cooled off. When I checked to see (and guess) if the cheesecake was done or not, it looked fine, but an hour later after it was cooled, it obviously was not fully cooked. By that point, reheating the oven and cooking it more would not improve the looks of my cheesecake. On the bright side, the surface of the cheesecake wasn't cracked, just deflated and soggy.


My first cheesecake. Notice that big crack on the left side?
Before dumping on Candy Cane dust to cover up the grossness. Notice there are no wide splits?

 Dilemma 2: Cutting

The book I read explains that to get the most smooth cut with even sides, it is best to freeze the cheesecakes before cutting them (Schulman 76). After keeping the cheesecake in the fridge for a few hours, I tried to cut a slice of the cheesecake. The thing was still warmish when I tried to cut it, and it fell apart very easily. Taking the book's advice, I put the cheesecake in the freezer overnight. My knife got stuck a couple times but it cut way more cleanly. The slice of cheesecake was way more stiff (duh it's frozen) and it even tasted better. The advice from my book greatly improved the presentation of my slice and even the texture.


Cut while it was room temperature. Look at that floppy soggy piece of disappointment moistened with my tears.
Cut after being frozen in my freezer and completely untouched (because after one tiny nibble my family decided they had tried enough). Can you say aesthetic?


Overall: Maybe some things can be too festive. Combining eggnog and peppermint was not the best idea, especially because adding the chunks of candy canes before baking made the surface icky and look like puke.
Pros:
  • Ummmm
  • Thinking...
  • The crushed up candy canes on the top looked good?
  • The graham cracker crust tasted decent (the best part!)
Cons (Prison Break got me like):
  • Smelled putrid
  • Tasted nasty
  • Made me gag
  • It was so under-cooked
  • Really grainy
  • Looked gross without extra candy-canes on the top
  • Wretched soggy texture


#NoMakeup #NoFilter #Like4Like #Follow4Follow

Question:
What is your favorite holiday flavor or food?
Would you enjoy some eggnog peppermint cheesecake? I have plenty of extra...


Schulman, Maureen, Tara Lane, Diana Moles, and Jolene Worthington. The Eli's Cheesecake Cookbook. N.p.: Eli's Cheesecake, 2015. Print.

Posted by Kierra Long

Saturday, December 24, 2016

Making lady fingers

Making Lady Fingers

(Savoiardi in Italian)

Today I made Lady fingers, which is described as "rounded, oblong shaped light cookies"
 
This is the professionally made lady fingers from my book, which one thing to learn is not to get discouraged by the outcome of your products versus those of  master chefs.

Included within the book is the history of Lady fingers:
"Lady fingers were created by the chefs of the Dukes of Savoy to celebrate the visit of the king of France. Despite their Piedmontese origin, ladyfingers are often found in the artisan confectionery traditions of all the regions of Italy that were once under Savoy influence. Thanks to their crisp, spongy texture, they are also used in creamy dessert recipes."
(Grazia, Mario, and Academia Barilla. Italian Desserts and Pastries. Vercelli: White Star, 2014. Print.)

What this means: Lady fingers derived from trying to please the king of France with scrumptious desserts, but has become traditional for Italians. This shows that there is history behind recipes.


      Making the lady fingers:
Making this recipe was for the most part was pretty simple. First, start by preheating the oven to 400°F, it didn't take long to prepare so heating up the oven right away was a good idea. Then you were to sift the flour and cornstarch and put it aside. In a separate bowl, you were to mix the 3 eggs and yolk and add dashes of vanilla and warm honey. To me this looked weird  because there was no flour or anything more solid yet, so the goo was not very appeasing.
1. mm cute


After that, it was time to add and mix the flour-cornstarch combo along with the lemon zest, which looked a lot better.


2. more acceptable

Then the hard part, you were supposed to take this mix and put it in an icing bag and somehow make the perfect shape on baking sheets to get the perfect cookie. This was a struggle, with the mixture shooting everywhere and not at all making perfect shapes. I definitely did not take pictures at this part because my hands were covered with icing. Maybe I'm just a spaz, but no matter how hard I tried the icing/mix would not stop coming out of both ends. #chefjenny

Side note: Before putting it in, it was recommended to put confectioners sugar so it would harden into the cookie. (Bake 10-15 minutes)
And so with the icing situation, once again the overall presentation of my cooking was not very great.  
Overall result: The book states that it should make 30 lady fingers. My attempt made about 15. This may have been due to my odd shapes and spilling of icing, but I don't think this recipe is overall accurate for average Joes. I made two batches, and slightly overcooked the first one. 10 minutes worked best for me, but that depends on ovens.  


Tastewise: It was very sweet. I like the pop of lemon zest and vanilla. I did feel a spongey texture (in the batch that wasn't overcooked haha). I did not like them as much as I thought I would, even with the sweetness they were still a little too bland, like eating a "meh" snickerdoodle. Icing could've helped, like it did with the glazed hazelnut cookies.
gotta add that cringey photo of me looking like a rat
Questions for you: What cooking struggles have you gone through? What are useful fixes? Do you think presentation is a big factor? What should I make next?

merry christmas lol - jenny
book: Barilla, Academia. Italian Desserts and Pastries: Delicious Recipes for 100 Authentic Sweets. Vercelli: White Star, 2014. Print.