Showing posts with label Eye Makeup. Show all posts

Thursday, January 4, 2018

Beauty How-to: Glam at the Tips of Your Fingers

Smoky Eyes

I n t r o d u c t i o n

Do you ever feel like you want to add an extra umph to your look? A great way to take your outfit, hair, and makeup to the next level would be adding a gorgeous pop of colors on your eyes. But, if you're a beginner with not many brushes or tools, or if you're short on time, I'm here, along with the aid of Michelle Phan, beauty-guru and author of Make Up: Your Life Guide to Beauty Style and Success -- Online and Off, to help you create a sultry smoky shadow to add definition to your eyes with your own easy-access tools-- your finger-tips!

S t e p  O n e :

You always want a strong foundation to build off of, and no, I'm not talking about actual makeup foundation. Before applying any eyeshadows, you want to prime your eyes. There are options such as products especially made for priming your eyes, which help the eyeshadow adhere better and also making it longer lasting. There are some eyeshadow primers that are especially made for glitter shadows, in which it is more tacky and bring more opacity for the eyeshadow. But, if you don't do eye looks very often and wouldn't use those pricey primers as much as you would want, another alternative to purchasing an eyeshadow primer would be using concealer! I use this trick all the time to add coverage and a base for my look. Then to make sure there will be no creases, set your primer with a powder that is similar to your skin tone or slightly lighter. To do this, you can use an eyeshadow, powdered foundation, or even some translucent powder.


S t e p  T w o :

Now time to build up our smoky eye. First, you want to lay down your base color, which typically is the lightest color aside from the highlight color and your skin base. Pick up the shadow with your ring finger, according to Phan's novel, "Your ring finger is the most delicate finger," (Phan 52). You will also go back in to blend all the shadows with the same fingers. This color will add a slight pop and will help the other shadows come together to look blended seamlessly. Bring up the shadow all the way to above your crease, you can call this your transition shade because you will be able to go back and forth with this shadow to add softness into your sultry smoky eye. When you've built up your desired opacity for your base and transition color, you can move on to defining the eyes.

S t e p  T h r e e :

Now we're gonna start adding in more color to bring in that smoky look that we want. This color will be slightly more of a darker brown, a warm tone. You will want to pick this up with your pointer finger, in which the book states; "The index finger provides the most control, so use it to contour," (Phan 52). The amount of control that the index finger has brings a lot of preciseness, which is good for creating a shape for your eyes, and like the author said, to contour and add depth. You want to place the shadow near the outer-corner of your eyes, and have it angled towards your brows. Then, start to bring the color more towards the middle of your eyes and in your eye crease, blending as you take the colors across the lid. Continue to blend the shadows until it looks seamless and a flawless gradient.

S t e p  F o u r :

Our creation is starting to come together, and we're gonna continue to add more shadows to make the look feel more sultry and smoky. As one of our final steps, our book guide states that; "The middle finger is for the darkest color," (Phan 52). So, we're going to take our deepest brown shade and place it on only our outer-corner. Then, blend out into the other colors to continue the seamless finish. Build up the darkness into one corner and the smoky effect will begin to come together.

S t e p  F i v e :

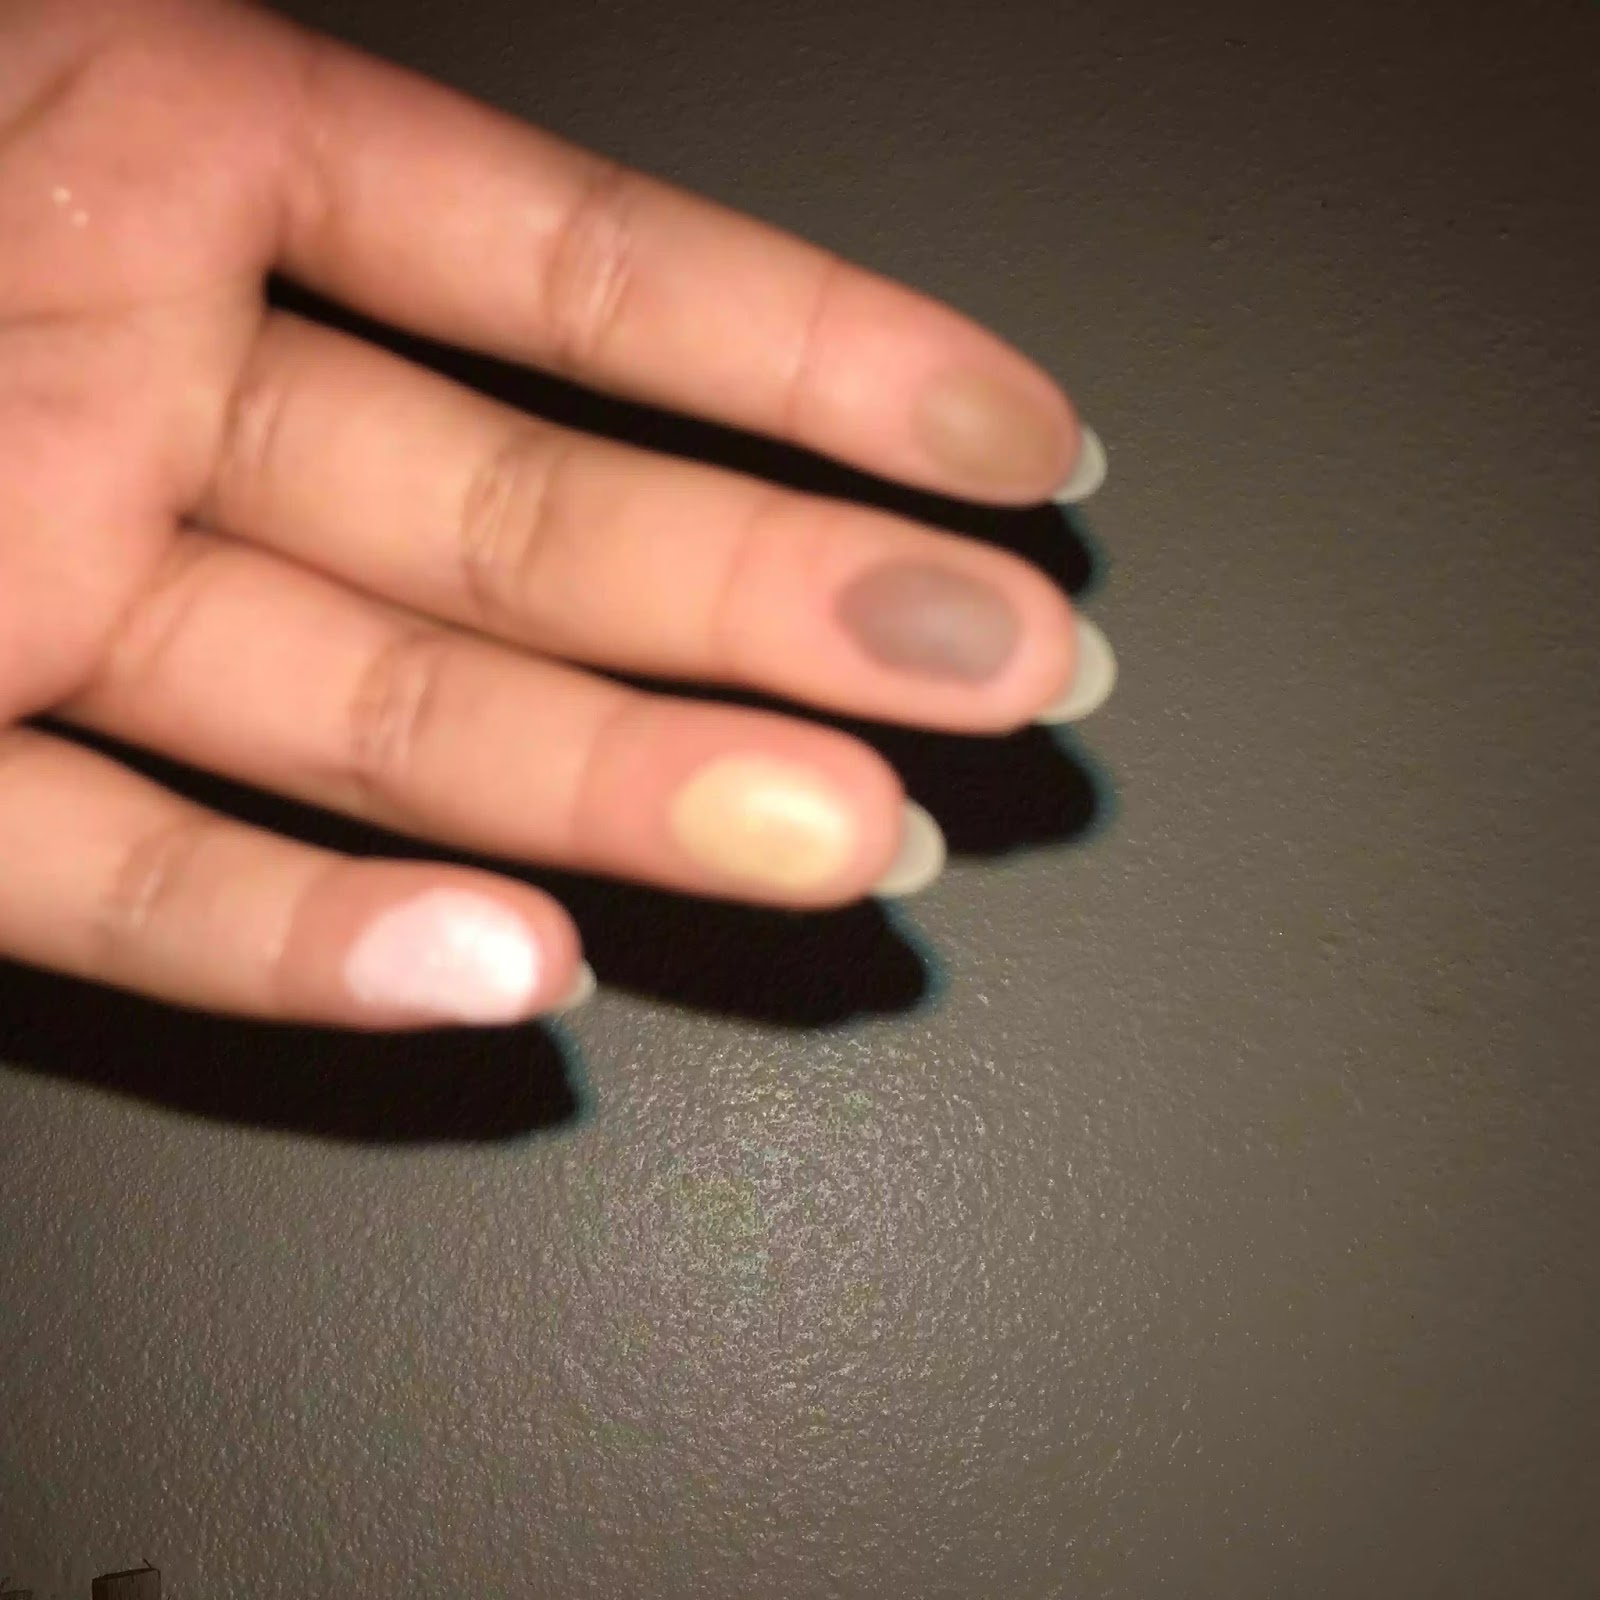
Now that we have built up all our colors and created a sultry look, we are going to add the finishing touches-- see what I did there? To finalize, "Use your pinky finger for the lightest shade, which will be your highlighter," (Phan 52). Take an eyeshadow that is bone-colored, or something that is light enough but won't be too opaque, you want this highlight to look effortless and just to add a little something to finish off the look. Shimmers and actual highlighters would look beautiful and add that special something to top off your makeup, but matte shadows would also add a bit of a natural finish to your eye makeup. Either decision would look gorgeous!

F i n i s h e d

Would you have ever thought that creating an eyeshadow look could be so easy, I mean, it is at the tip of your fingers! It may be a little messy, but trust me honey, the picture-perfect finish is worth it. What other colors would you try for this look? Do you prefer a matte look over shimmer and glitter? Let me know your thoughts down below!

Phan, Michelle. Make up: Your Life Guide to Beauty, Style, and Success--Online and Off. Harmony Books, 2014.

Friday, December 29, 2017

Beauty 101: Eyeshadow

The finished look 
Eye shadow is a powdered cosmetic used on the eyes to provide definition or color. In Bobbi Brown's Bobbi Brown Makeup Manual, she explains eyeshadow as to be used to help accentuate the eye and make color stand out (Brown, 94). I will be using a mix of dark shades to accentuate my eye and oranges and reds o make my brown eyes stand out more. I will also use a couple different formulas of eye shadow.
For this tutorial I will be using the She palette by Colourpop Cosmetics.
Step 1
1. Start by putting an orange color in the crease. This will act as a transition shade. Transition shades are useful for eye makeup by providing a color that makes darker and more bold shades easier to blend and look smooth over the eye. I used a fluffy dome-shaped blending brush for this.
2. Next, I used a red color in the crease and outer corner of the eye. This is the darkest color used. A denser brush than the last works better for this because I want this color to be more bold and pigmented rather than the transition shade that I wanted lighter and blended out further. Because this color is still in the crease, I wanted it to be blended smoothly with the transition shade so I made sure I used a fluffy brush rather than packing brush that is used for packed, intense color on your lid.
Step 2
3. The next step is to use a shimmery pink shade over the bare space on your lid. I used a flat packing brush for this since only the edges needed to be blended out from the lid. Once I picked product up on the brush, I used rosewater spray to intensify the color. After the pigment was placed, I used a blending brush to blend out the harsh lines.
4. Once the top shadow is done, I used a small brush described by Brown as a "Eye Smudge Brush: A small-head brush with a slightly rounded point. This brush has soft, flexible bristles that help smudge liner to create a smoky look" (Brown, 12) to add the orange color we started out with and the red shadow from the second step under my eye from my outer corner to the further end of my iris.
5. The final step is to add mascara and false eyelashes. I used the Ardell Soft Touch Wispies 162 Black and the Loreal Lash Paradise Mascara to add volume and length to my naturally stubby lashes
Step 5
Step 3
Step 4
 Have you ever used eye shadow before and if so, how did it go?

Brown, Bobbi, et al. Bobbi Brown Makeup Manual: for Everyone from Beginner to Pro. Springboard Press, 2011.

Friday, January 6, 2017

The "I Look Like I Got Punched In the Eye" Look

Smoky Silver Eye Shadow Look

Simply Glamorous: Gary Cockerill

So recently, New Years Eve just passed by this week, and the typical makeup look for the staying up all night long look was silver and glitter.  Because, we all want to look like we are wearing a disco ball on top of our eyes. So grab your glitter and prepare to dazzle.
DISCLAIMER: Mentally prepare yourself for what you are going to see.

Text: "If you want to glam the whole thing up and take the eyes to the max, try glitter- it's a great way to dress eyes up for the evening." (Cockerill 109)

Paraphrased: Putting glitter in your make-up look can dress up your eyes for a more of a glam look. \

Impact: Personally, I love glitter and/or anything sparkly on top of my eye lid. Adding glitter into my look truly made it a "New Years Eve" look. It tied the whole look together. So for the major of my looks, it will involve glitter.

Text: "How To Choose Colors Brown Eyes... coppers, ambers, grays, charcoals, purples, greens, peaches, bronzes, teals, navy." (Cockerill 119)

Paraphrased: Copper, amber, gray, charcoal (black), purple, green, peach, bronze, teal, and navy colors are good colors for those with brown eyes.

Impact: Without this list of colors that are  recommended for me, I wouldn't quite know what colors to be the main part of the look. I categorized as Silver into gray since they are in a similar family group.

All in all, this was just a test run of a smoky eye, I used the colors that are suited for my eye color, and I want to have a theme all around and I decided on "New Years Eve", so this look was created.


The Finished Look

Question: How do you do a smoky eye without making it look like you got punched in the eye a bunch of times?
Answer: Obviously I cant.

Peace Out,
Tia Nguyen

Cockerill, Gary. Simply Glamorous: Make-up transformations to make you look & feel fabulous. New York, NY 10010 St. Martin's Press New York

Tuesday, December 20, 2016

Naturally Gorgeous

Natural Look
Simply Glamorous: Gary Cockerill

We all had those days where we don't want  to look like a living zombie or having our face caked on like a clown. A natural look can change what you looked like before, to a whole new different look. This look can be your "No Makeup" Makeup look. It's easier than it seems, so grab your makeup brushes and lets get to it.

Text:
"This understated neutral make-up, where all the tones flow together, looks beautiful and healthy in the day or evening. It's easy to achieve and suits everyone, as long as you pick warm, soft tones that work with your skin, a multipurpose product for the eyes, lips, and cheeks is ideal." (Cockerill 14)

Paraphrased:
To create a natural/neutral makeup look, you need to have tones that work and flow together so it looks healthy and not fake. The tones you need are warm and soft tones that work with your skin. And using multipurpose products, is ideal because they can make an even more natural look.

Impact:
Previously, before I picked this book, I would create "natural" looks. But they weren't exactly "natural" per-say. I wasn't using the right colors for my particular skin tone, I would pick up harsh tones and they would be all cool tones, which don't fit with my skin tone.  I wouldn't either go way too dark, or way too light, this was another story of Goldilocks and the three bears. So what I've learned, ALWAYS PICK THE RIGHT SHADE, FIND ONE THAT IS JUSTTTT RIGHTTT.

Text:
" ...I defined her brows with a brow powder one shade lighter than her hair, and swept an apricot eyeshadow into her socket and under the lower lash line at the outer edge of her eyes...with a coat of mascara this dressed up the eyes just enough. The lipstick is neutral and tones with the eyes...I added apricot blush to warm up her cheeks, with champagne highlighter along the cheekbones for a youthful sheen." (Cockerill 12)

Paraphrased:
Gary Cockerill used a brow powder a shade lighter for the brows, so it wouldn't be so harsh on the girl's skin. Then he used an apricot eyeshadow into a socket and lower lash line on the outer edge. Then he put a coat of mascara, so it dressed it up. And then used a lipstick that was neutral and worked with the eyes. Then he added an apricot blush to add color to her cheeks, and a champagne highlighter along the cheekbones for a youthful look.

Impact:
I have taken away from this paragraph was that using a shade lighter for your brows makes her face more lighter and not as harsh. I personally, am all about the dark eyebrows, but making them just a little bit lighter made the look seemed more put together, and you can say, more "natural".

Final Look

Question: What are your daily must-have product or something you just can't live without?
A: (Mascara and/or Eyebrow Pencil)

Peace Out,
Tia Nguyen

Cockerill, Gary. Simply Glamorous: Make-up transformations to make you look & feel fabulous. New York, NY 10010 St. Martin's Press New York

Sunday, December 11, 2016

Sun-Blazed God-ish


EYE SHADOW
Simply Glamorous: Gary Cockerill

So this is my attempt of eye shadow, not too shabby, but not great either. I've always wanted to get better at eye shadow cause it creates a look natural, smoky, bronze, and etc. So lets get onto it.

The Complete Eye Makeup 

Text:
"10) Using a medium-sized brush, I applied gold shimmer eyeshadow to the main part of the eyelid, taking it into the natural socket crease and just underneath the eye at the inner corner.
11)I added a rich rusty brown matte eyeshadow to the outer corner and blended it into the shimmer powder on the lid to create more depth.
12) To combat the slight droop of her eye lids, I used a pencil brush and the same eyeshadow to cut out a crease just above the natural socket line, following its curve.
13) I swept the same color under the eye with an angled brush, taking it from the outer corner and fading it into the gold color at the inner corner.
14) Then I used a blending brush to soften all the edges and make the colors connect, with no hard lines.
15) I applied black mascara to the top lashes and let it dry before adding individual lashes and clusters of false lashes to add fullness, followed by another coat of mascara on the roots only to add dept. (The false lashes are optional and if you're doing this look for the daytime, don't go there.)
16) I lined the upper lash line with a black gel liner, keeping as close to the roots of the lashes as possible. Then I smudged a little black eyeshadow over it, creating the impression of a shadow above the lash line, which makes the lashes look thicker. ....
18) I applied mascara to the lower lashes, holding a tissue under them to protect the skin from smudges.
19) To finish off the eye, I added a little gold pigment to the inner corner and to the very middle part of the lid, so the shimmer is visible when the eye is open. This catches the light, drawing attention to the eyes and is great for an evening look. Using a smaller brush, I also added a touch of the shimmery pigment under the lower lash line at the inner corner of the eye." (Cockerill Pg.82)

Paraphrased:
Starting off, using a medium sized brush, put gold eyeshadow all over your main port of you eyelid up to the natural socket crease. Then using a rust brown matte eyeshadow put it on the outer corner and blend it into the gold shadow which creates depth. Use a pencil brush to cut out a crease above natural socket line with the brown eyeshadow. Also using the same color, use with an angled brush taking from outer corner and fade into gold color, and blend it. Put mascara on, and apply fake eyelashes, when going out at night. Line upper lash line with black gel liner, and smudge little bit of black eyeshadow. Then apply mascara to the lower lashes. To finish, at little bit of gold pigment to the inner corner of eyes to brighten.

Impact:
Following this tutorial, I learned how to correctly apply eyeshadow. I used to do it willy-nilly, but now my eyeshadow skills have gotten better. I learned what brushes are used for what, and where the colors should be placed.

Text:
"Tip Keep your eyes open when you cut out the crease on your socket line, so you can see where you're placing it . It needs to be visible when your eyes are open to create depth and make your eyes look bigger." (Cockerill Pg.82)

Paraphrased:
Keeping your eyes open when you do a cut crease, is easier so you know where you are placing it where it can be seen.

Impact:
Personally, I can never do a cut crease or just creasing in general, I have always closed my eyes, and I would just guess, but it usually never works, and it doesn't always look great. But now, I know how to do it right, and now my makeup game is stronger as ever.


Question:  What are your must-have palettes? Ones that blend nicely, and/or pigmented.

Peace Out,
Tia Nguyen

Cockerill, Gary. Simply Glamorous: Make-up transformations to make you look & feel fabulous. New York, NY 10010 St. Martin's Press New York