Showing posts with label Emma Balcom. Show all posts

Friday, January 26, 2018

Why is There a Hole in the Flower Pot?


The question, "why is there a hole in the flower pot?" is a common inquiry amongst beginning gardeners and curious people. The answer to this is, filtering. The hole featured at the bottom of most pots is called a drainage hole, which allows water to drain out. I have talked about the importance of water in a plant's life before but this time I am going to talk more about pot drainage and how it affects the plant. Urban Gardening For Dummies talks at length about how to properly pot your plant. I'm going to do my best to synthesize the information by doing some potting of my own. Urban Gardening For Dummies suggests using a hammer or drill to create a draining hole at the bottom of the pot if one isn't present  (Association). The pot I'm using is one such pot but rather than drilling or hammering a hole I am going to use rocks at a filter for my water. Why do I want my water to filter into the bottom? You might remember my recent post titled, "Cause of Death: Overwatering" which I explained that when the roots are constantly soaked in water, they rot and the plant dies. Filtering with rocks or a hole at the bottom allow the water to sink, not staying and rotting the roots. If a drainage hole is already at your pot's bottom Urban Gardening For Dummies recommends to, "cover the drainage hole with window screening, cheesecloth, or landscape fabric." (Association).
    As said, I am going to do an example of potting with a pot that doesn't have a hole. I made the featured pot in my ceramics class and mistakenly forgot to add a drainage hole. But, in Bod Ross's words, "there are only happy mistakes" and I am going to use this happy mistake to demonstrate how to create drainage without a drainage hole. First, I gathered some loose rocks from my backyard and added an inch worth to the bottom of my pot. Next, just add your dirt and plant. Remeber to water right after planting to sooth the shocked roots. Simple as that!


I hope this was helpful and answered that a many asked question of why there's a hole at the bottom of a flower pot. Comment below on whether you have ever used any of these methods for pot drainage or new what a drainage hole was!
Association, National Gardening., et al. Urban Gardening For Dummies. John Wiley & Sons, 2013.

Monday, January 22, 2018

Picture Frame Garden

Urban Gardening for Dummies offers great insight into how to enjoy gardening with limited space. One method the book suggested is a picture frame garden and I'll be personally trying out this project. If any questions arise after reading through my steps feel free to contact me, I'd be happy to clarify anything unclearly depicted through my pictures. Let's get started!


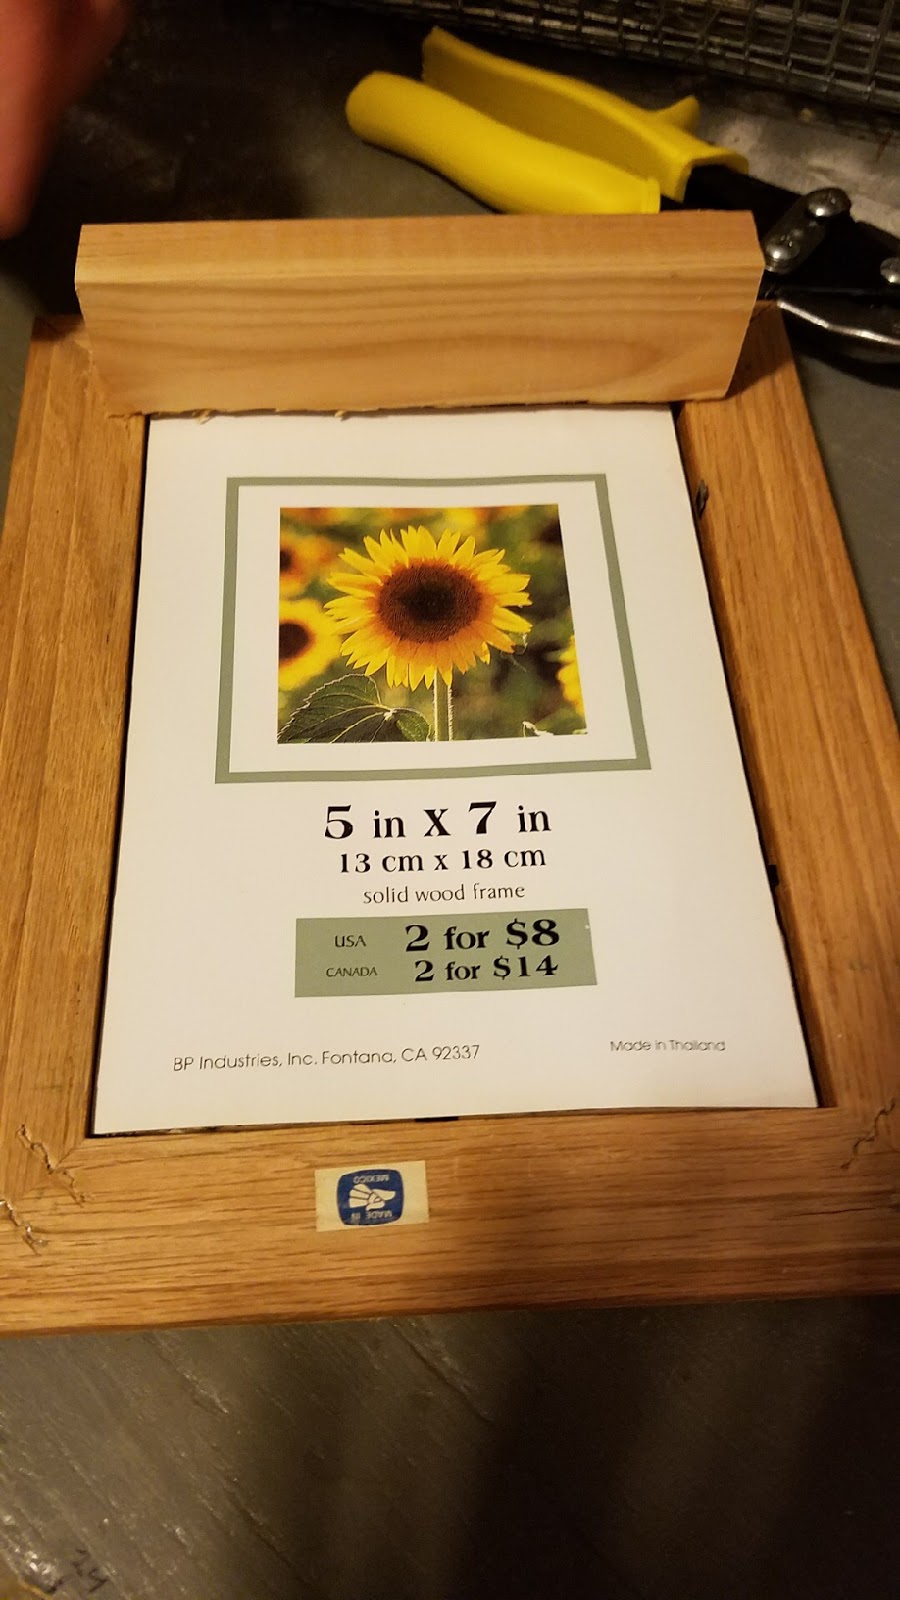
Step 1: Get an old picture frame whether it's laying around your house or you find one at the thrift store.


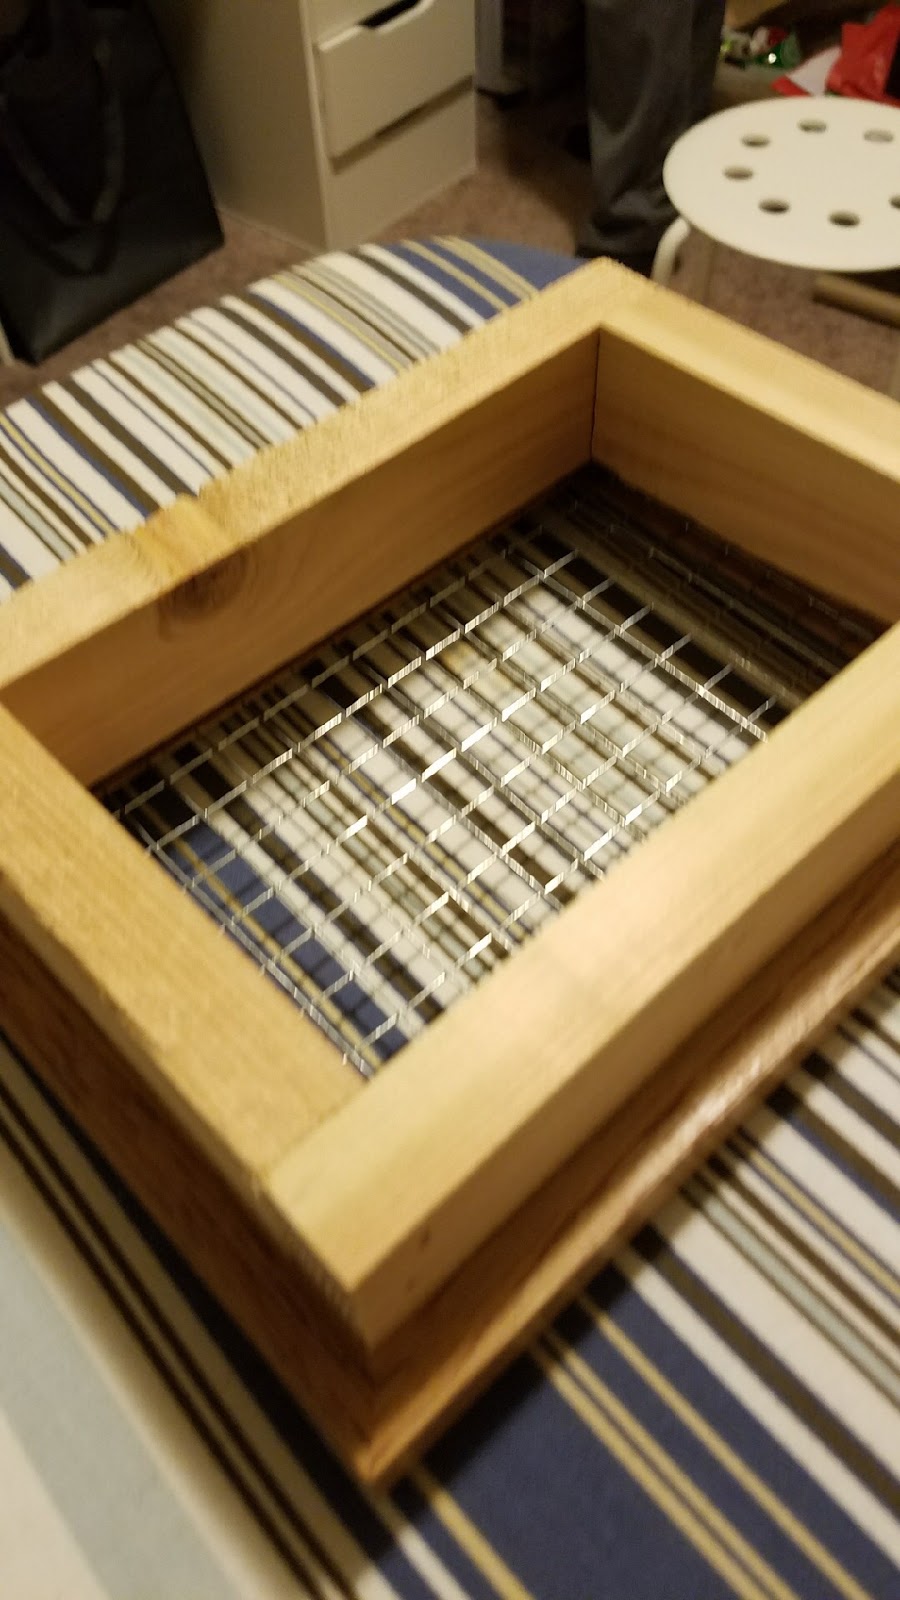
Step 2: Create a shadow box with pieces of wood measured to each side.  
 *I used a nail gun to attach the pieces of wood and a cut a long stake of wood into my smaller pieces 


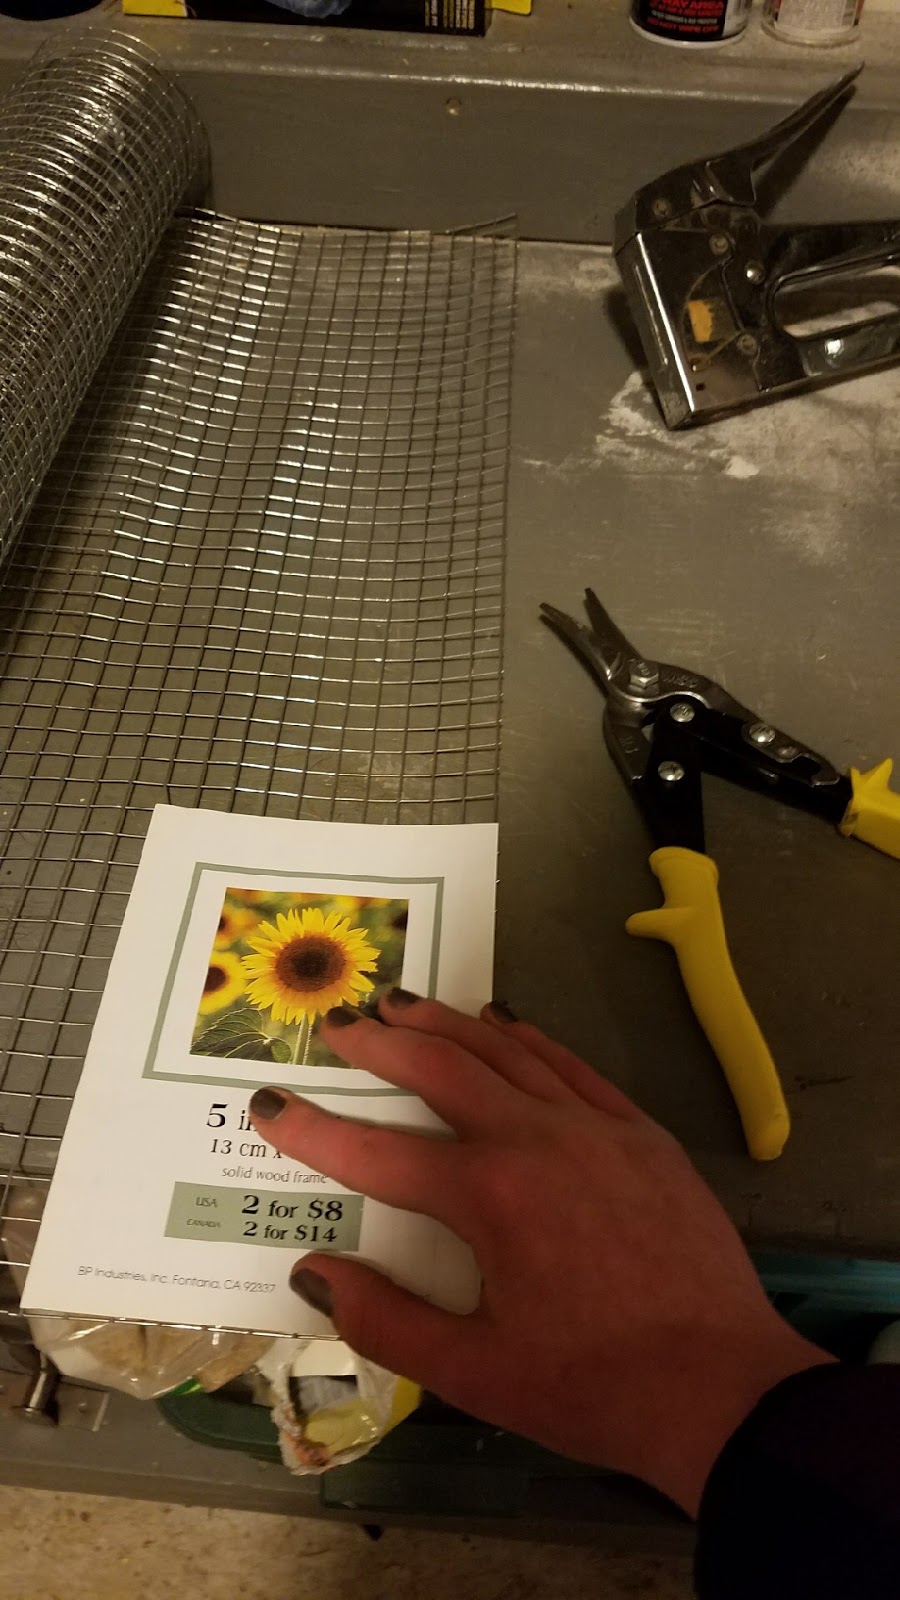
Step 3: Cut out wire grid to fit the frame.
 *I use the sunflower picture that came with my frame as a measuring guide and pliers to cute to wire.


Step 4: Press your cut and measured wire grid into the frame. 
 *This can be a bit tricky just to do with your hands so I used a screw driver to force it in.
 *I also chose to secure the wire grid with a staple gun, this prevented it from bending.


CHECK IN: Right now this is how the pieces together will look.
 *The pieces of wood should be connected and the wire grid placed in the frame. 

Step 5: Now that the frame piece is completed with the wire grid, It's time to look at our shadow box. Get some wood glue and a paintbrush, coat the frame and the wood with the glue. 
 *I added weights so the pieces dried together firmly. 


Step 6: After the wood glue has dried cut a plywood backing to complete your shadow box. 
 *Use a short nail and hammer to attach the backing.


Step 7: The fun part, adding the dirt and plants! First get your soil and start to shovel in your dirt into through the wire grid. Continue filling until full. 
 *If your not sure about the soil or want to know more about the soil, check out my first post "It's All About the Dirt" 


Step 8: Succulents! Weave the roots into the wire grid and more dirt to secure them. 
 *You can add as many succulents as you like and in whatever order. 
 *BE CAREFUL WHILE HANDLING THE SUCCULENTS, THEY ARE FRAGILE! 


Step 9: Attach hooks to the back of the frame or leave it as a table centerpiece.


What do you think of the final turn out, worth the work? Also, let me know if you'd ever be interested in making out for yourself! 
A final shout out and huge thank you to my friend for letting me use his succulents for this project!


Association, National Gardening., et al. Urban Gardening For Dummies. John Wiley & Sons, 2013.
Thursday, January 18, 2018

Cause of Death: Over Watering


I know in my last post I said I would be doing a picture frame garden project but I thought some background on succulents, which is what I'll be using, was necessary first. Succulents are amazing plants and come in a variety of shapes, sizes, and colors. In my opinion, they are one of the best plants for indoor garden because of their usually small size and aesthetic appeal. First, let's address one of the main problems succulent carers have, overwatering. This might come as a shock to a few of you because the standard belief is that water is what helps plants grow so, why would more water be a problem? Yes, water is important to a plant's life but succulents and other plants need a healthy amount of it. Especially succulents, "Soil kept too wet prevents air from reaching the
roots and they die, leading to soft rot." (Association).  The book Urban Gardening For Dummies also suggested looking out for puffy stems and leaves or shriveled looking leaves. To save your succulent reduce watering and if that doesn't help try unpotting the plant and check the roots. "If the roots are alive and the soil is dry, give the plant water and it should respond. If the roots are dead and the soil is wet, your succulent is in trouble." (Association). Overall, it's better to fallow the 'better safe than sorry' rule and not risk watering. Succulents are able to recover from under watering but you can remove water from them.
In the pictures, I featured some of the succulents I'll be using for my upcoming picture frame garden post.
Do you have any succulents at home, and if so, what are your favorites?
Comment below and I'm happy to answer any more questions you might have!                          

Association, National Gardening., et al. Urban Gardening For Dummies. John Wiley & Sons, 2013.