Showing posts with label Eye Shadow. Show all posts

Thursday, January 4, 2018

Beauty How-to: Glam at the Tips of Your Fingers

Smoky Eyes

I n t r o d u c t i o n

Do you ever feel like you want to add an extra umph to your look? A great way to take your outfit, hair, and makeup to the next level would be adding a gorgeous pop of colors on your eyes. But, if you're a beginner with not many brushes or tools, or if you're short on time, I'm here, along with the aid of Michelle Phan, beauty-guru and author of Make Up: Your Life Guide to Beauty Style and Success -- Online and Off, to help you create a sultry smoky shadow to add definition to your eyes with your own easy-access tools-- your finger-tips!

S t e p  O n e :

You always want a strong foundation to build off of, and no, I'm not talking about actual makeup foundation. Before applying any eyeshadows, you want to prime your eyes. There are options such as products especially made for priming your eyes, which help the eyeshadow adhere better and also making it longer lasting. There are some eyeshadow primers that are especially made for glitter shadows, in which it is more tacky and bring more opacity for the eyeshadow. But, if you don't do eye looks very often and wouldn't use those pricey primers as much as you would want, another alternative to purchasing an eyeshadow primer would be using concealer! I use this trick all the time to add coverage and a base for my look. Then to make sure there will be no creases, set your primer with a powder that is similar to your skin tone or slightly lighter. To do this, you can use an eyeshadow, powdered foundation, or even some translucent powder.


S t e p  T w o :

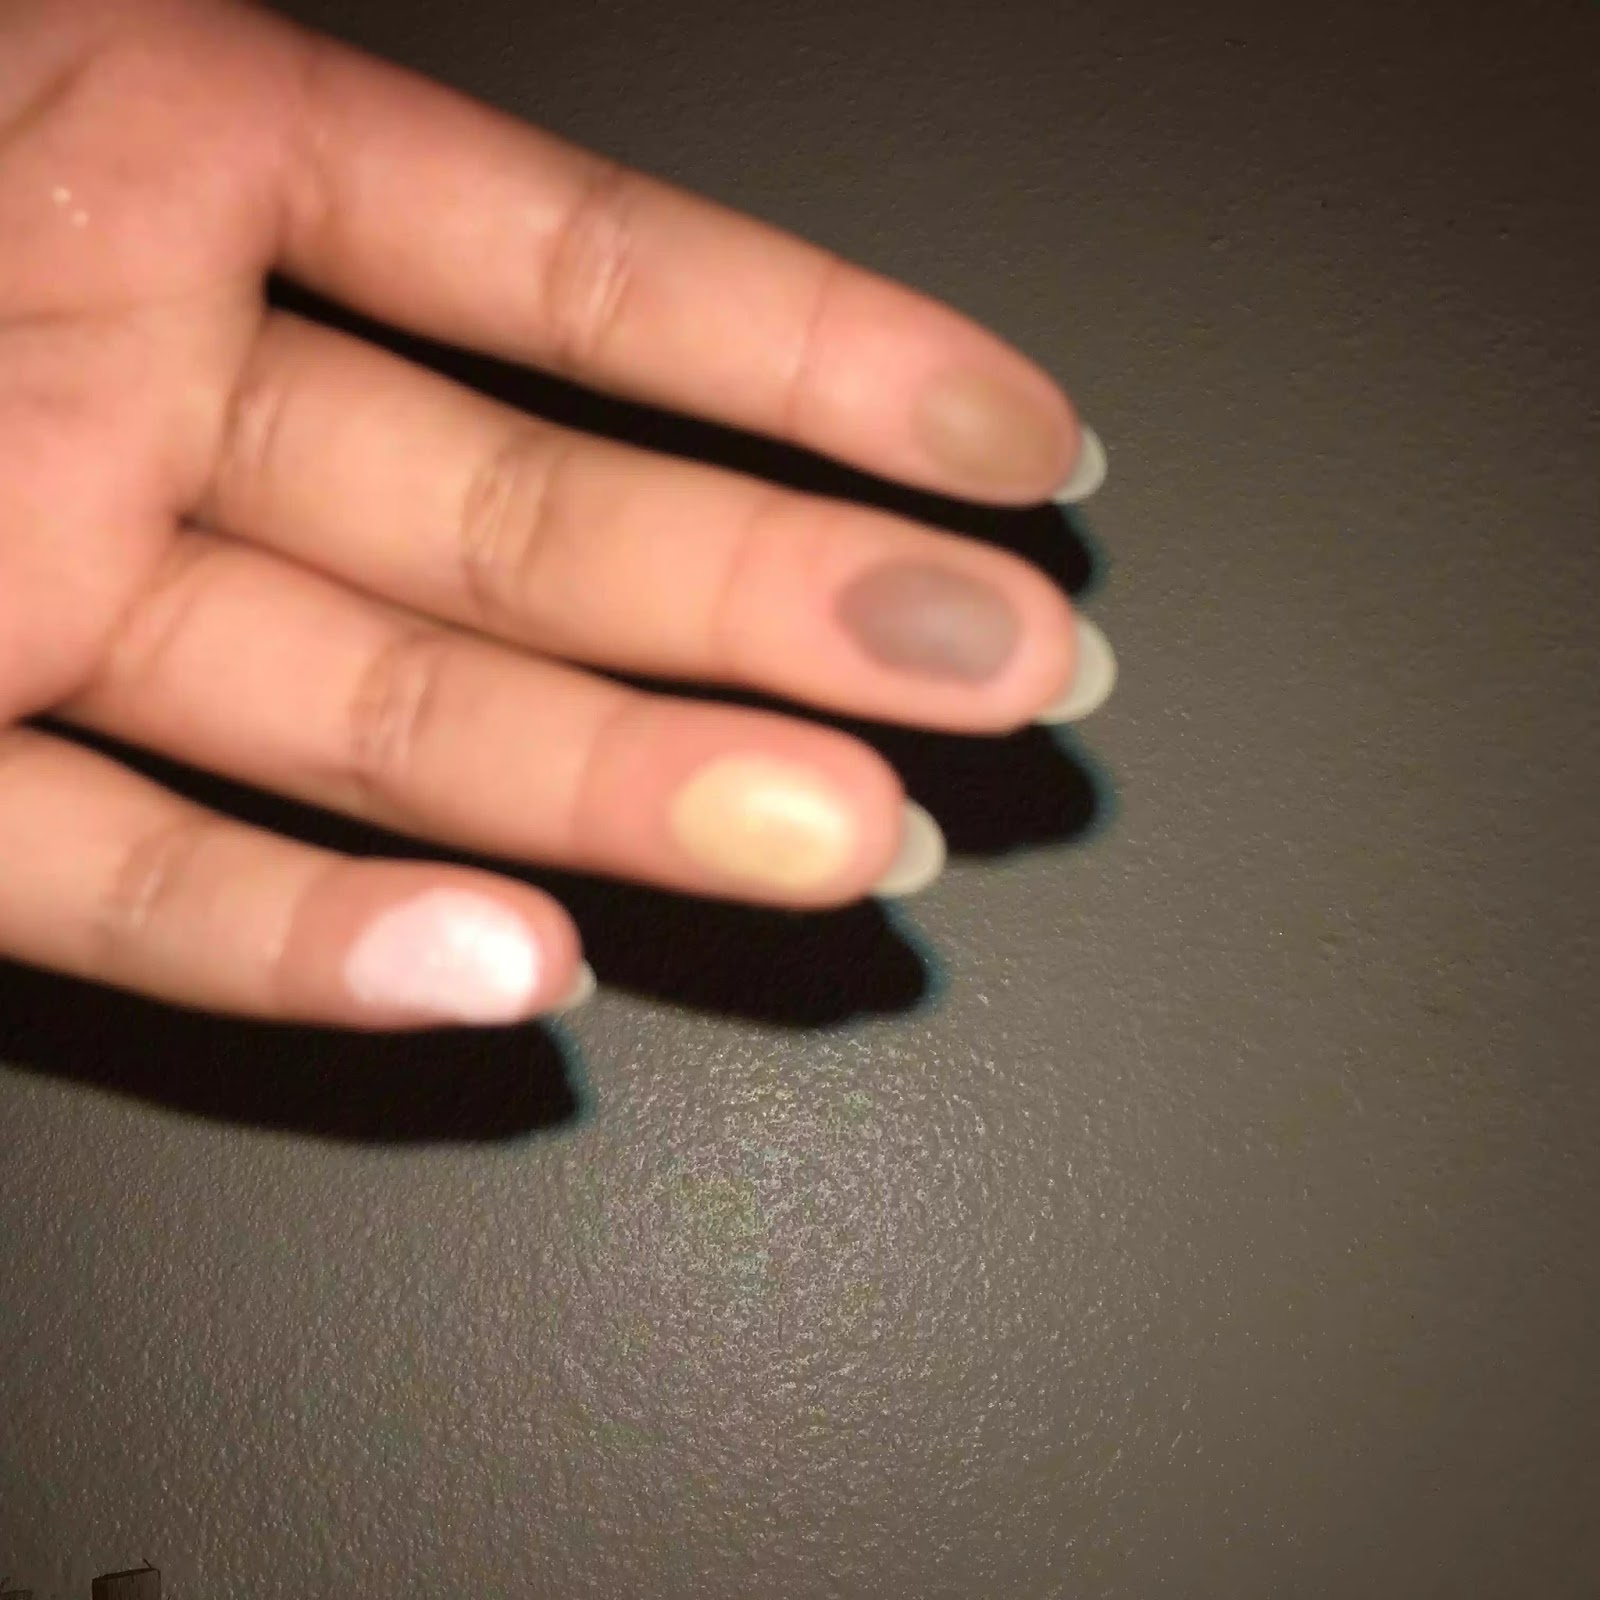
Now time to build up our smoky eye. First, you want to lay down your base color, which typically is the lightest color aside from the highlight color and your skin base. Pick up the shadow with your ring finger, according to Phan's novel, "Your ring finger is the most delicate finger," (Phan 52). You will also go back in to blend all the shadows with the same fingers. This color will add a slight pop and will help the other shadows come together to look blended seamlessly. Bring up the shadow all the way to above your crease, you can call this your transition shade because you will be able to go back and forth with this shadow to add softness into your sultry smoky eye. When you've built up your desired opacity for your base and transition color, you can move on to defining the eyes.

S t e p  T h r e e :

Now we're gonna start adding in more color to bring in that smoky look that we want. This color will be slightly more of a darker brown, a warm tone. You will want to pick this up with your pointer finger, in which the book states; "The index finger provides the most control, so use it to contour," (Phan 52). The amount of control that the index finger has brings a lot of preciseness, which is good for creating a shape for your eyes, and like the author said, to contour and add depth. You want to place the shadow near the outer-corner of your eyes, and have it angled towards your brows. Then, start to bring the color more towards the middle of your eyes and in your eye crease, blending as you take the colors across the lid. Continue to blend the shadows until it looks seamless and a flawless gradient.
S t e p  F o u r :

Our creation is starting to come together, and we're gonna continue to add more shadows to make the look feel more sultry and smoky. As one of our final steps, our book guide states that; "The middle finger is for the darkest color," (Phan 52). So, we're going to take our deepest brown shade and place it on only our outer-corner. Then, blend out into the other colors to continue the seamless finish. Build up the darkness into one corner and the smoky effect will begin to come together.

S t e p  F i v e :

Now that we have built up all our colors and created a sultry look, we are going to add the finishing touches-- see what I did there? To finalize, "Use your pinky finger for the lightest shade, which will be your highlighter," (Phan 52). Take an eyeshadow that is bone-colored, or something that is light enough but won't be too opaque, you want this highlight to look effortless and just to add a little something to finish off the look. Shimmers and actual highlighters would look beautiful and add that special something to top off your makeup, but matte shadows would also add a bit of a natural finish to your eye makeup. Either decision would look gorgeous!

F i n i s h e d

Would you have ever thought that creating an eyeshadow look could be so easy, I mean, it is at the tip of your fingers! It may be a little messy, but trust me honey, the picture-perfect finish is worth it. What other colors would you try for this look? Do you prefer a matte look over shimmer and glitter? Let me know your thoughts down below!

Phan, Michelle. Make up: Your Life Guide to Beauty, Style, and Success--Online and Off. Harmony Books, 2014.

Sunday, December 11, 2016

Sun-Blazed God-ish


EYE SHADOW
Simply Glamorous: Gary Cockerill

So this is my attempt of eye shadow, not too shabby, but not great either. I've always wanted to get better at eye shadow cause it creates a look natural, smoky, bronze, and etc. So lets get onto it.

The Complete Eye Makeup 

Text:
"10) Using a medium-sized brush, I applied gold shimmer eyeshadow to the main part of the eyelid, taking it into the natural socket crease and just underneath the eye at the inner corner.
11)I added a rich rusty brown matte eyeshadow to the outer corner and blended it into the shimmer powder on the lid to create more depth.
12) To combat the slight droop of her eye lids, I used a pencil brush and the same eyeshadow to cut out a crease just above the natural socket line, following its curve.
13) I swept the same color under the eye with an angled brush, taking it from the outer corner and fading it into the gold color at the inner corner.
14) Then I used a blending brush to soften all the edges and make the colors connect, with no hard lines.
15) I applied black mascara to the top lashes and let it dry before adding individual lashes and clusters of false lashes to add fullness, followed by another coat of mascara on the roots only to add dept. (The false lashes are optional and if you're doing this look for the daytime, don't go there.)
16) I lined the upper lash line with a black gel liner, keeping as close to the roots of the lashes as possible. Then I smudged a little black eyeshadow over it, creating the impression of a shadow above the lash line, which makes the lashes look thicker. ....
18) I applied mascara to the lower lashes, holding a tissue under them to protect the skin from smudges.
19) To finish off the eye, I added a little gold pigment to the inner corner and to the very middle part of the lid, so the shimmer is visible when the eye is open. This catches the light, drawing attention to the eyes and is great for an evening look. Using a smaller brush, I also added a touch of the shimmery pigment under the lower lash line at the inner corner of the eye." (Cockerill Pg.82)

Paraphrased:
Starting off, using a medium sized brush, put gold eyeshadow all over your main port of you eyelid up to the natural socket crease. Then using a rust brown matte eyeshadow put it on the outer corner and blend it into the gold shadow which creates depth. Use a pencil brush to cut out a crease above natural socket line with the brown eyeshadow. Also using the same color, use with an angled brush taking from outer corner and fade into gold color, and blend it. Put mascara on, and apply fake eyelashes, when going out at night. Line upper lash line with black gel liner, and smudge little bit of black eyeshadow. Then apply mascara to the lower lashes. To finish, at little bit of gold pigment to the inner corner of eyes to brighten.

Impact:
Following this tutorial, I learned how to correctly apply eyeshadow. I used to do it willy-nilly, but now my eyeshadow skills have gotten better. I learned what brushes are used for what, and where the colors should be placed.

Text:
"Tip Keep your eyes open when you cut out the crease on your socket line, so you can see where you're placing it . It needs to be visible when your eyes are open to create depth and make your eyes look bigger." (Cockerill Pg.82)

Paraphrased:
Keeping your eyes open when you do a cut crease, is easier so you know where you are placing it where it can be seen.

Impact:
Personally, I can never do a cut crease or just creasing in general, I have always closed my eyes, and I would just guess, but it usually never works, and it doesn't always look great. But now, I know how to do it right, and now my makeup game is stronger as ever.


Question:  What are your must-have palettes? Ones that blend nicely, and/or pigmented.

Peace Out,
Tia Nguyen

Cockerill, Gary. Simply Glamorous: Make-up transformations to make you look & feel fabulous. New York, NY 10010 St. Martin's Press New York