Power skiing
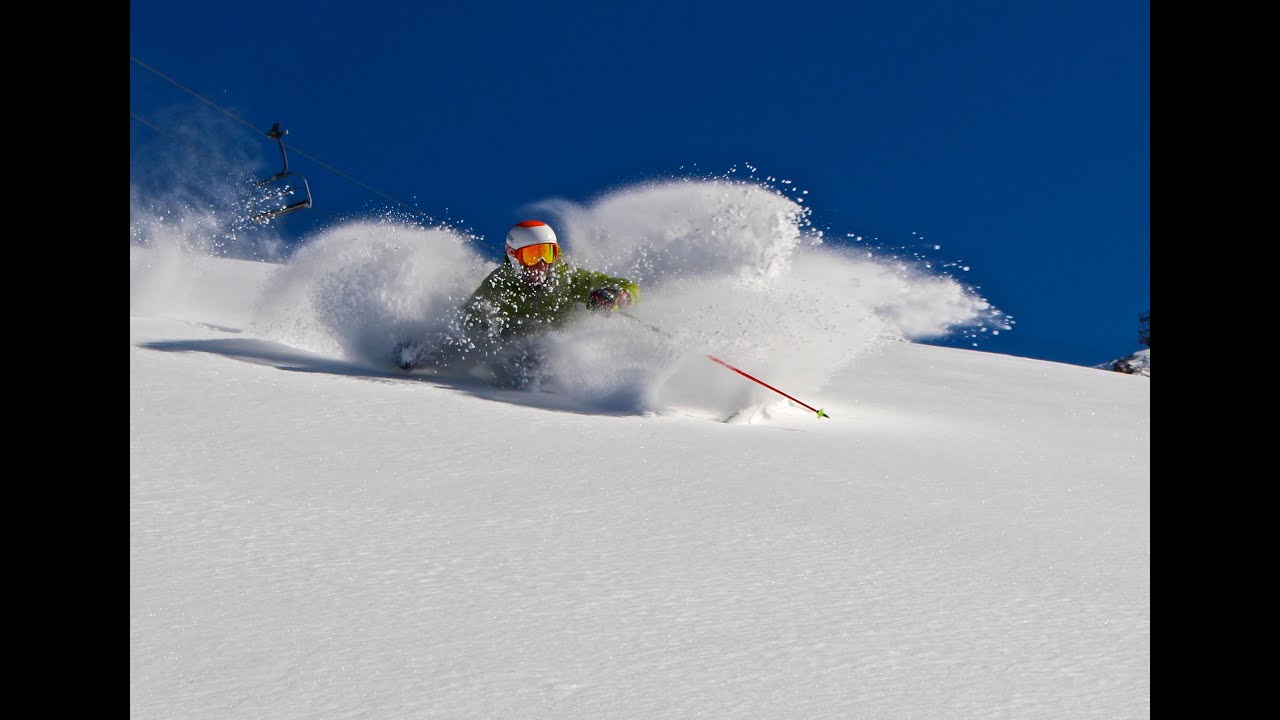 Skiing powder snow is a very personal experience, as you develop an intimate relationship with the snow and the mountain. It is clearly exciting, exhilarating and pleasurable. I feel that powder skiing is to skiing as ballet is to dance, for it requires an artistry and finesse of movement, coupled with a strength of the body and fluidity of motion.
The basic turn for powder skiing is the short- swing turn I described in my previous blog. All that is necessary to use this turn in powder is to modify the body stance and weight distribution and exaggerate the flexion-extension-flexion movements. Once you know how to do this, the next step is to experience the feeling of ridding on a soft cushion beneath the skis rather than on a solid surface, and overcoming the fear of not being able to see your skies under the snow.
 To learn how to ski in powder i therefore recommend that you first learn the modified body stance and then practice traversing and turning uphill in deep snow to experience the feeling of ridding on a soft cushion.
Powder skiing is mostly for advanced skiers, mostly because most powder trails are for advanced and experts due to the fact that the grooming machines can't go on trails that are too steep.
There is also another turn specifically done on powder snow called the The Powder Turn.
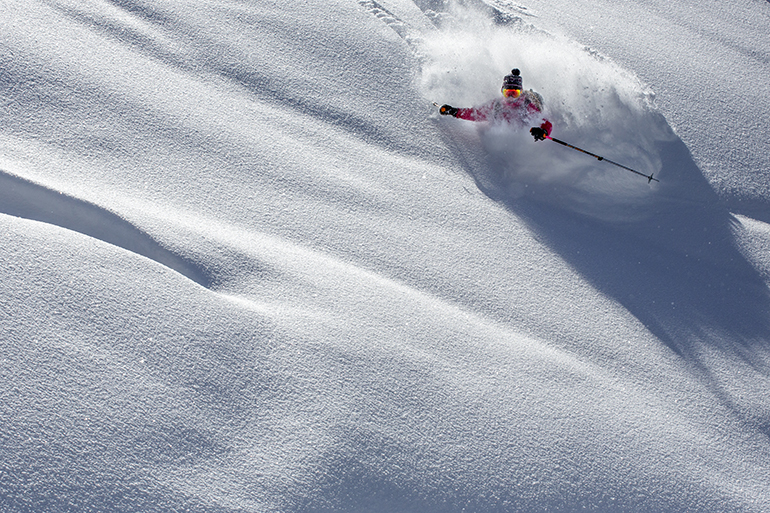 The powder turn is a very tireless way of skiing. The powder turn does not cause the skis to turn rapidly across the fall-line, this turn does not slow you down as much as most other turns do, and hence is best skied on intermediate-grade slopes in powder which is at least knee deep or on steep resistance of the snow against the body is used to prevent you from going too fast.
"The powder turn makes use of momentum and the pull of gravity to help get the skis through the turns, and hence is most often used when skiing quickly or dynamically" (Heckelman, 172)


