This is my last blog post for about drawing and I'm going to be touching over something that I felt like I needed a lot of work on which was shading and tones. Tones are basically like how hard you press down on with your strokes to either create lines or shade into the characters and knowing when to use what kind of tone in invaluable.
 |
| Start |
Tonal Bar:
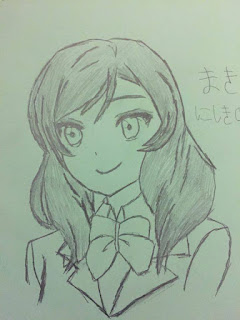
So, I'm going to be using this picture that I emulated in my last blog post to practice my tones and shading on. So, one of the first things to do when work on tone is to create a "tonal bar". This is how Dodson describes a tonal bar, "Use the point or the side or both to get the results you desire. Build up to the tone slowly and watch out for the common tendency to go too dark or too light" (Dodson 120). This exercise helps with using the correct tones by being able to see the entire range of tones, they you're able to create. The first thing I placed on my paper before even starting to shade was placing the tone bar which can be seen on the end result because Huy was a little stupid and didn't take a full shot of the paper.
Edges:
 |
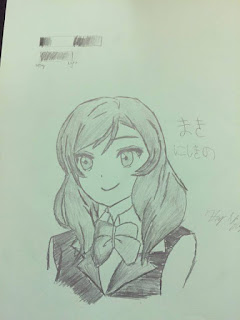
Shaded the hair
Added Edges |
The next think about mastering tones and shading is learn the differences between soft and hard edges. The definition of the two different kinds of edges as described by Dodson is "Hard edges is one of the a sharply defined border; a soft edge gradually disappears" (Dodson 121). This is really important to know since, some aspects of shading requires me to separate shapes from each other which is where hard edges come into play for me. And when I need to draw like a smaller detail, I can make is more subtle but using a soft edge since it gradually disappear. So when I applied hard and soft edges to the drawing, I didn't use very much soft edges, but applied many hard edges to distinguish what the different parts of the picture from each other. And used a little bit of soft edges for the hair.
Process and Thoughts:
 |
| Pre-Arm Change |
For the rest of the shading, I just followed the guide lines that was put in place by the tonal bar and just continued shading. I had no reference for shading but merely just from experience I was able to create the shading that you see in these pictures. I notice near the edge of hair is often more heavy shaded so thus, I do so on my shading. Also, on the little bow, I wanted to give a sense of light so on one side a shaded it slightly heavier and gradually go to lighter tone for that effect of light. After, that my drawing was basically finished. but using the skill I learned in my 2nd blog post, I said to myself "Wow that arm looks funny" and changed it not look as funny. This is probably the best thing I've ever created and I'm extremely pleased with the result I got.
Bonus Point: What does the Japanese Say?
Questions: What were some skills and things you learned over the course of the IRP?
Source:
Dodson, Bert. Cincinnati: F&W, 1990 Print.
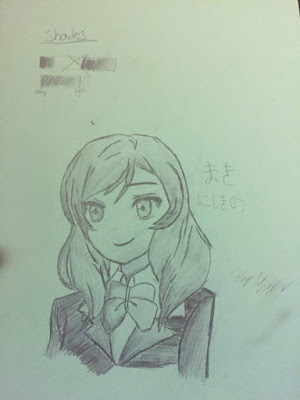 |
Final Result
Post Arm Change |


No comments:
Post a Comment